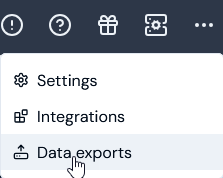
- Select Data exports:
- On the Export schedules panel, select Run ad-hoc export. The Run ad-hoc export page opens.
- Follow the steps to configure an ad-hoc data export given in the above Running Ad-Hoc Operational Data Exports topic, but note that you can omit selection of a Destination for the export:
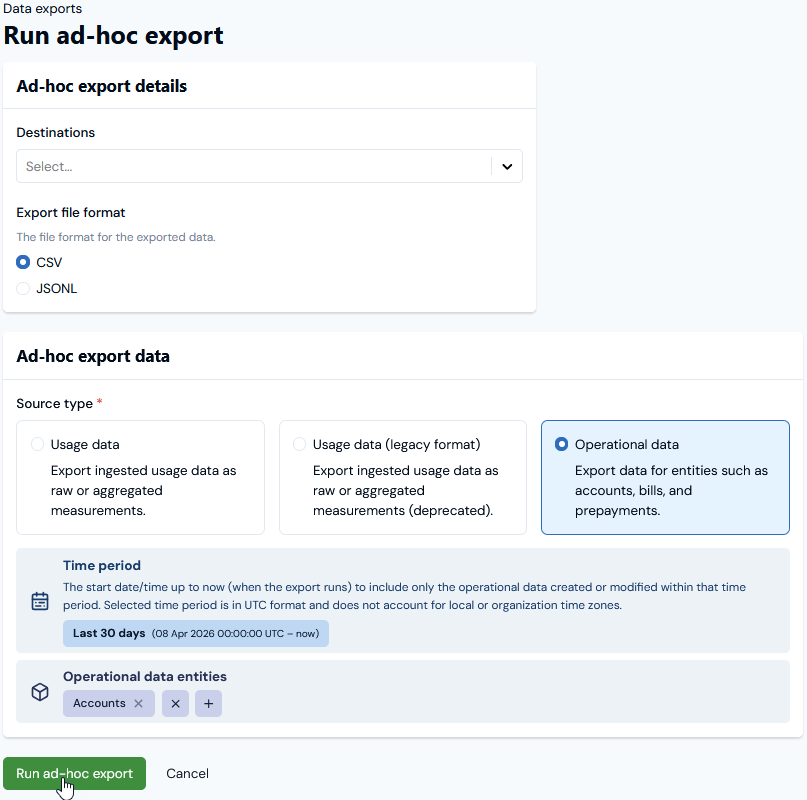
- Selected
.CSVas the export file format. - Selected to export the operational data for any Accounts created or modified in the Last 30 days.
- Select Run ad-hoc export. You are returned to the main Data export page and a message will appear stating that the Export job has been successfully queued.
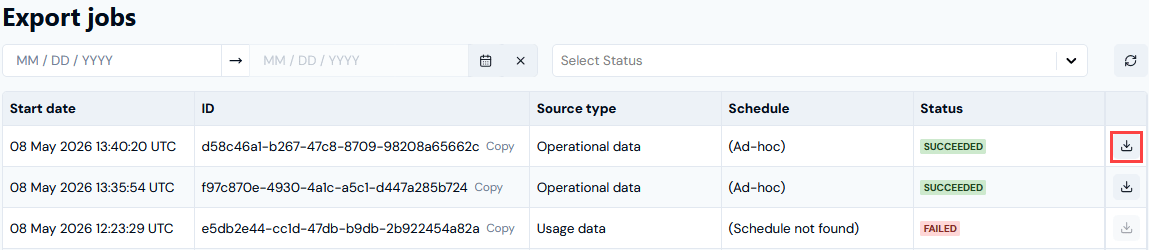
- Open the Exports job page:

- When the Export job has run and succeeded, you can use a Download button for the export file: